Your cart
There are no more items in your cart
- Brendon Maartens
- 3D Printing
- 2 likes
- 6844 views
- 0 comments
So you’ve just bought a 3D Printer and you already want to throw it out the window.
Lets make it fun. My name is Bren Maartens and ZEN Filament has asked me to "lay it down" when It comes to 3D Printing.
I’ve been in the industry close to 10 years now and I’ve seen that many people face the same problems when getting into 3D Printing. They’re impression that in 2022, Desktop 3D Printers should are as easy as Nespresso coffee Machines – I mean, I agree. but unfortunately, it simply isn’t the case yet and will require a little bit of tuning.
We’re starting with Bed Leveling, unarguably the most important part to master, we’re going to look at bed leveling without any Auto Bed leveling sensors. Parts that are not sticking to the bed, parts that are curling, popping off halfway through a print is all symptoms of uneven print bed. Mastering this skill is already half of all your printing problems solved.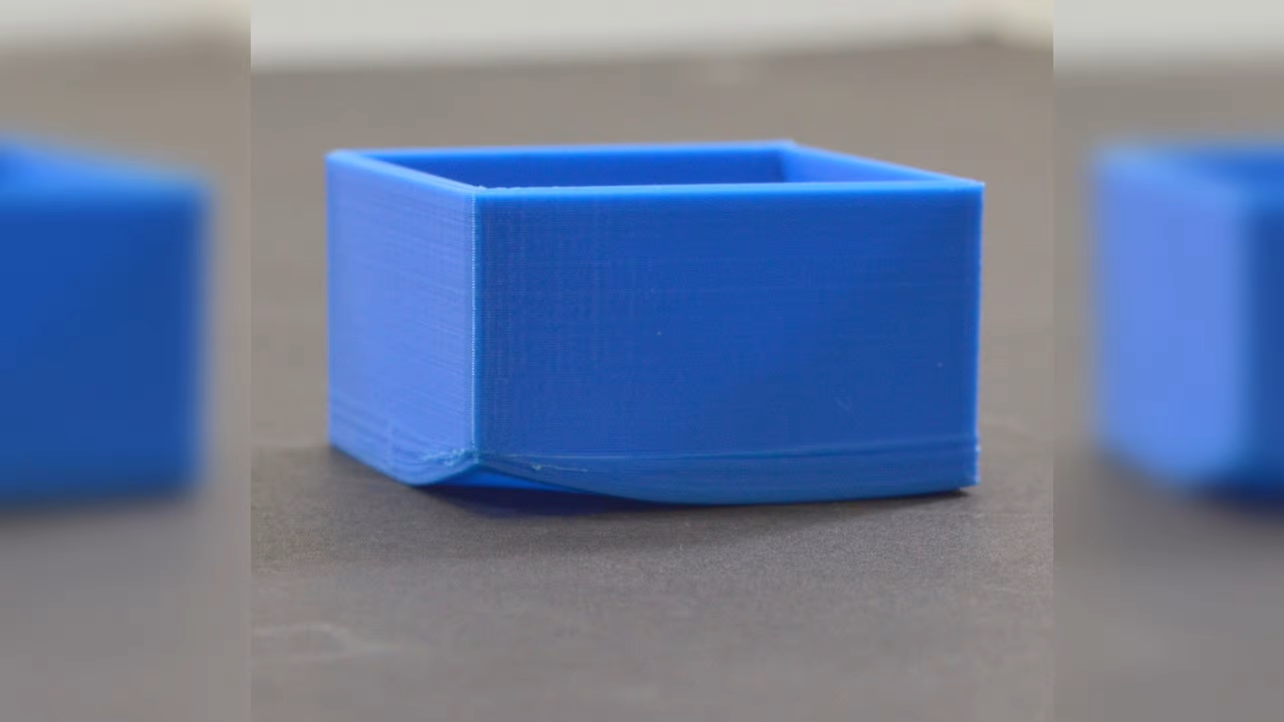
Everyone is probably familiar with the piece of paper leveling Method whereby you’re told to slide a piece of paper between the nozzle and the bed, keep raising the bed springs and move the paper until you feel the nozzle on the paper. If the paper tears, its too close, if you cannot feel the paper at all, its too far away.
This is simply a guideline to get you started but it’s not intuitive enough. I really want to make sure that you are in control of your machine and you are 100% sure when a print bed is level or not. Not all machines are built the same so the paper test just won’t be enough most of the time.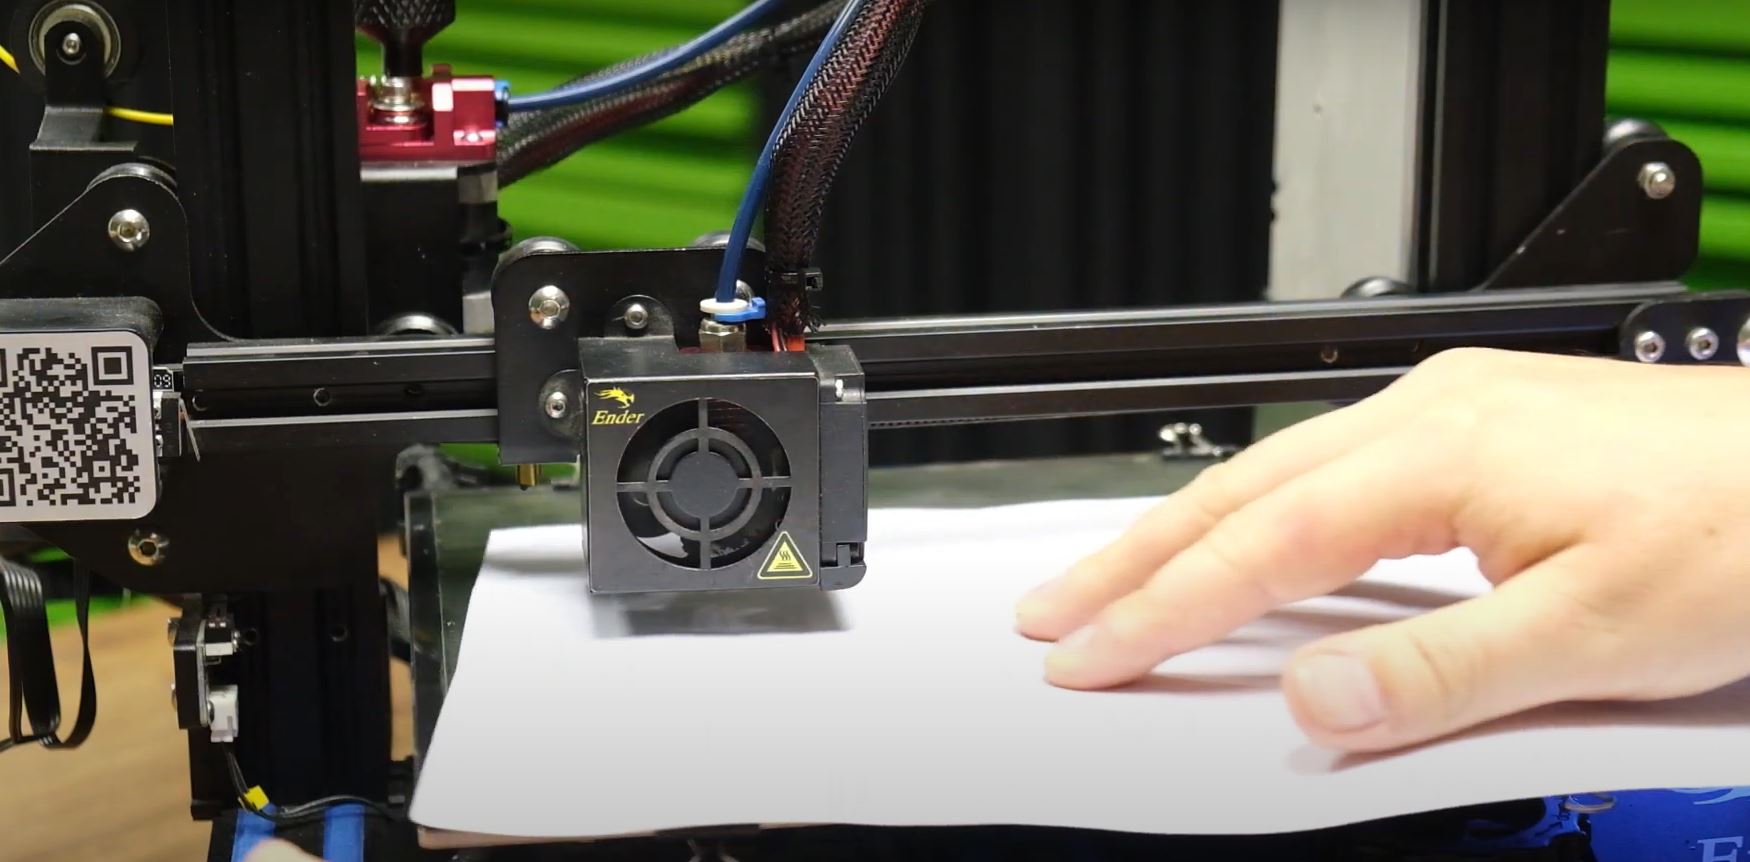
We’re going to start with lowering the bed to it’s absolute maximum. We do this because if its your first time printing after the assembly, you have absolutely no idea how high or low the nozzle will be when it starts the first print – start turning the bed leveling knobs under the bed CLOCKWISE. A good way to remember which direction to turn is that if you’re looking from the top down. ANTI-CLOCKWISE is away from the nozzle. Clockwise will be, the opposite which is towards the nozzle. The way I do this is remember "AA" – ANTI-Clockwise – AWAY from the nozzle.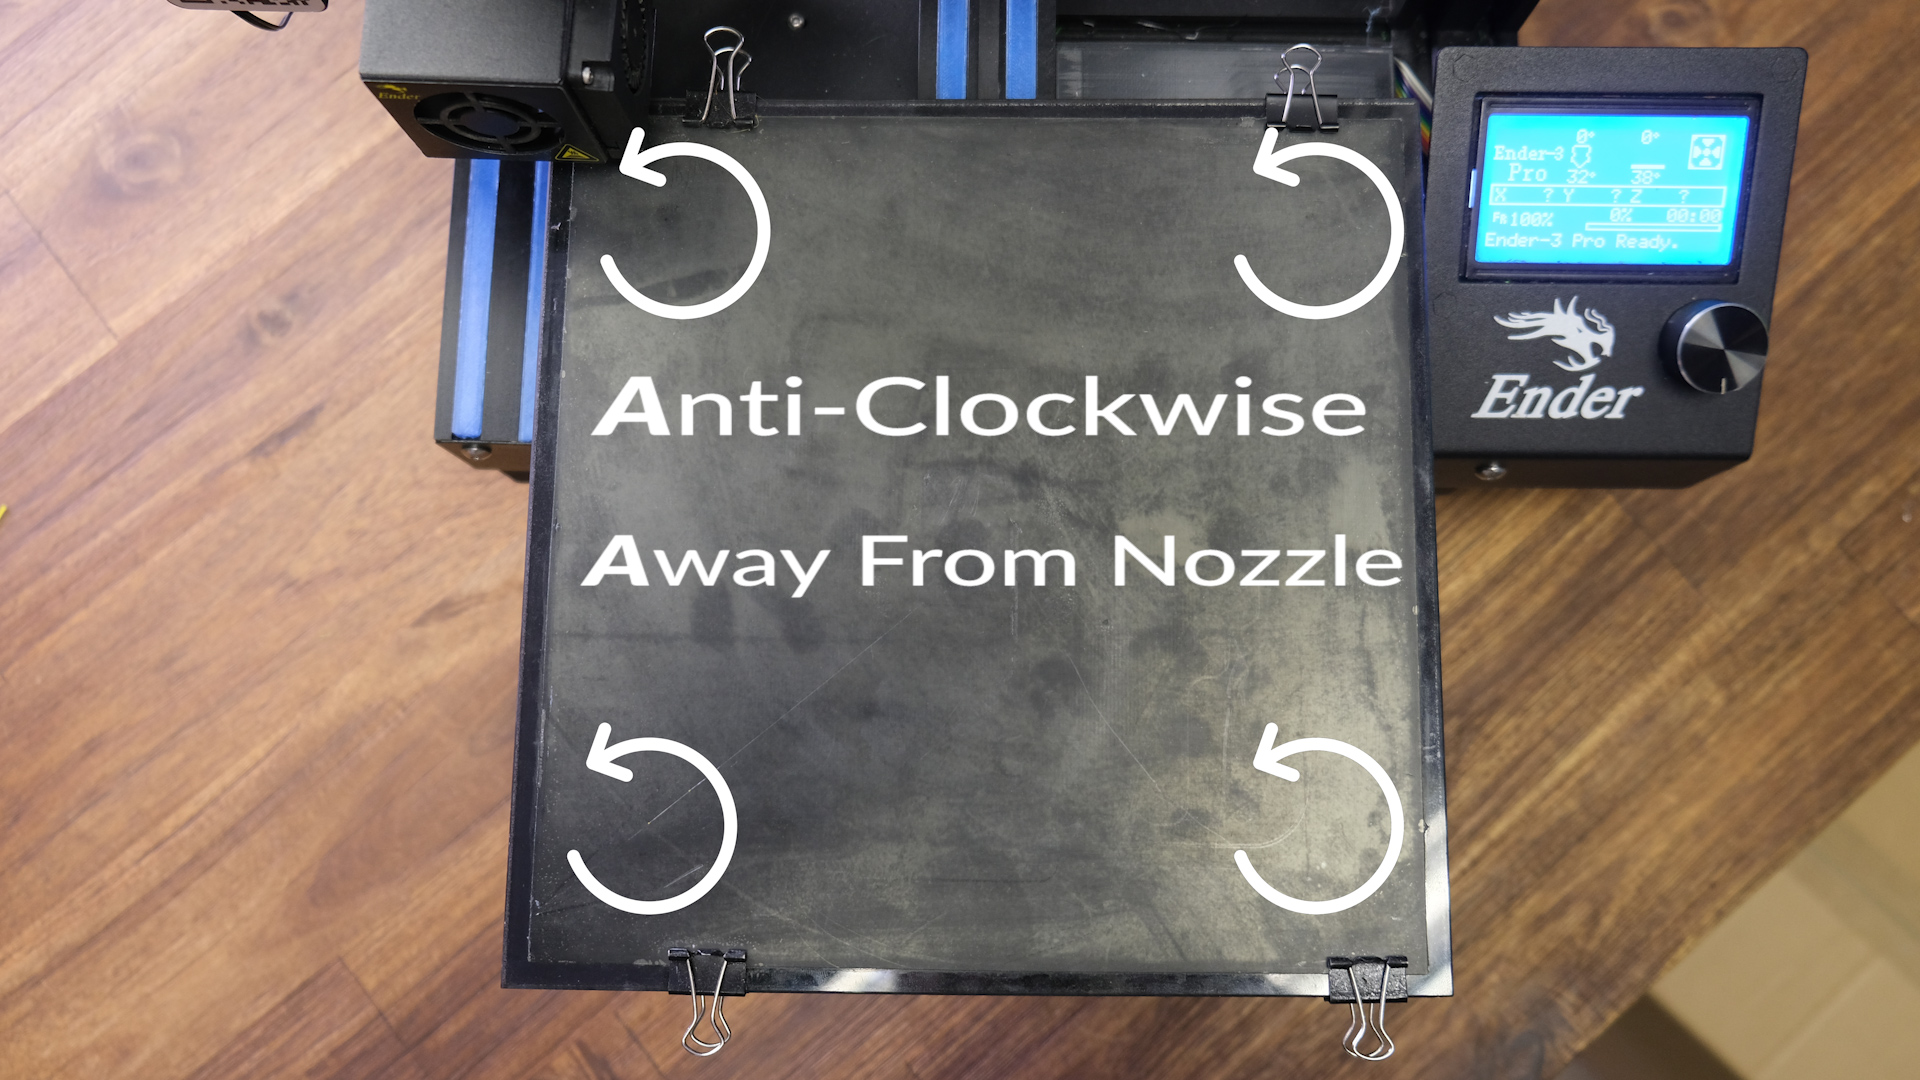
Now we’re going to print a simple cube in the center of the bed. Note that we don’t use Rafts, we don’t like Rafts, no one likes rafts, It’s a waste of time and material. The only Bed adhesion we use will be a 2mm-4mm Brim. – if you’re not sure on how the slicing process works yet, your printer SHOULD come with some default, already sliced prints for you printer on the SD Card that we can use instead. If not – pause this video and check out how to slice models in Cura
Now that the bed is lowered, start the print – It will of course start printing in midair – this is great. Now we know at what height the printer will start it’s magic and we’re not damaging the bed.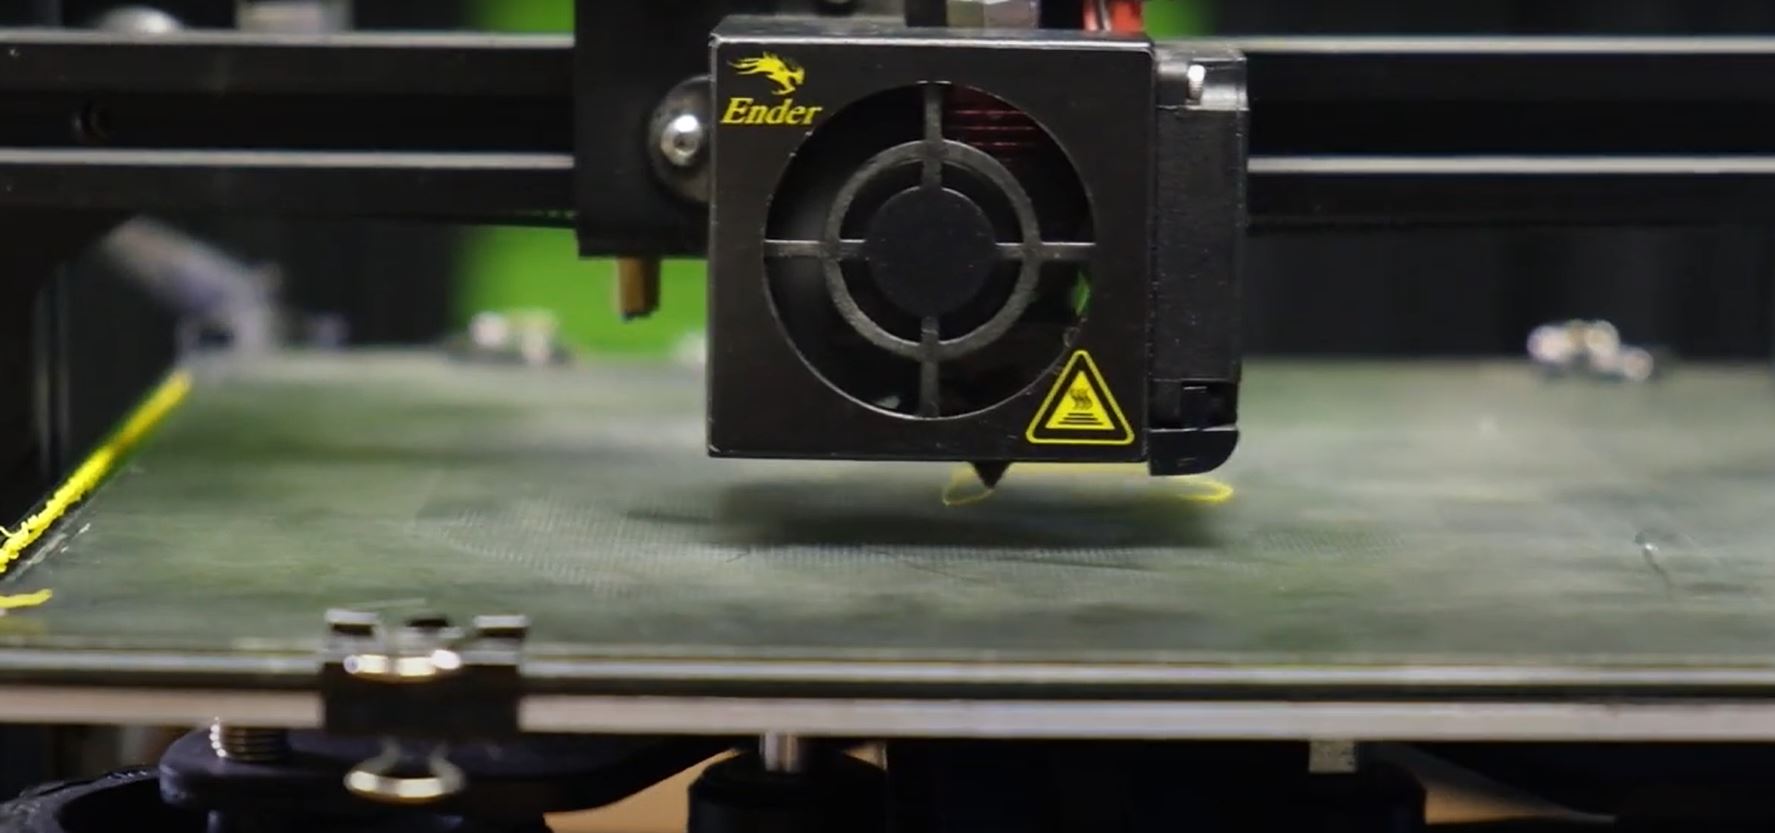
Now what we are actually going to do is level the bed WHILE the printer is printing. I know, it sounds crazy but I promise it’s the best way to do this
While it’s printing, one-by-one start turning each bed leveling knob clockwise, this will raise the bed up towards the nozzle. You need to look past the mess that the machine will start making and just focus on the nozzle touching the bed – you may need to even use some tweezers or even your fingers to remove some spaghetti- keep doing this until we see the filament coming out the nozzle is starting to stick to the bed. Depending on how long it took to get the filament sitting on the bed, there may a big plastic spaghetti mess and you might not be able to tell what is going on. That’s okay.
Using the printer control panel – stop the print, clean the bed and start it again. Don’t adjust any of the knobs before we start – We want to continue exactly where we left off.
Repeat this process again until the filament is now being laid out and sticking to the bed.
The next question that is asked here is:
Okay so the filament has landed, it’s on the bed, its sticking – but how do I know if it’s too far away or too close.
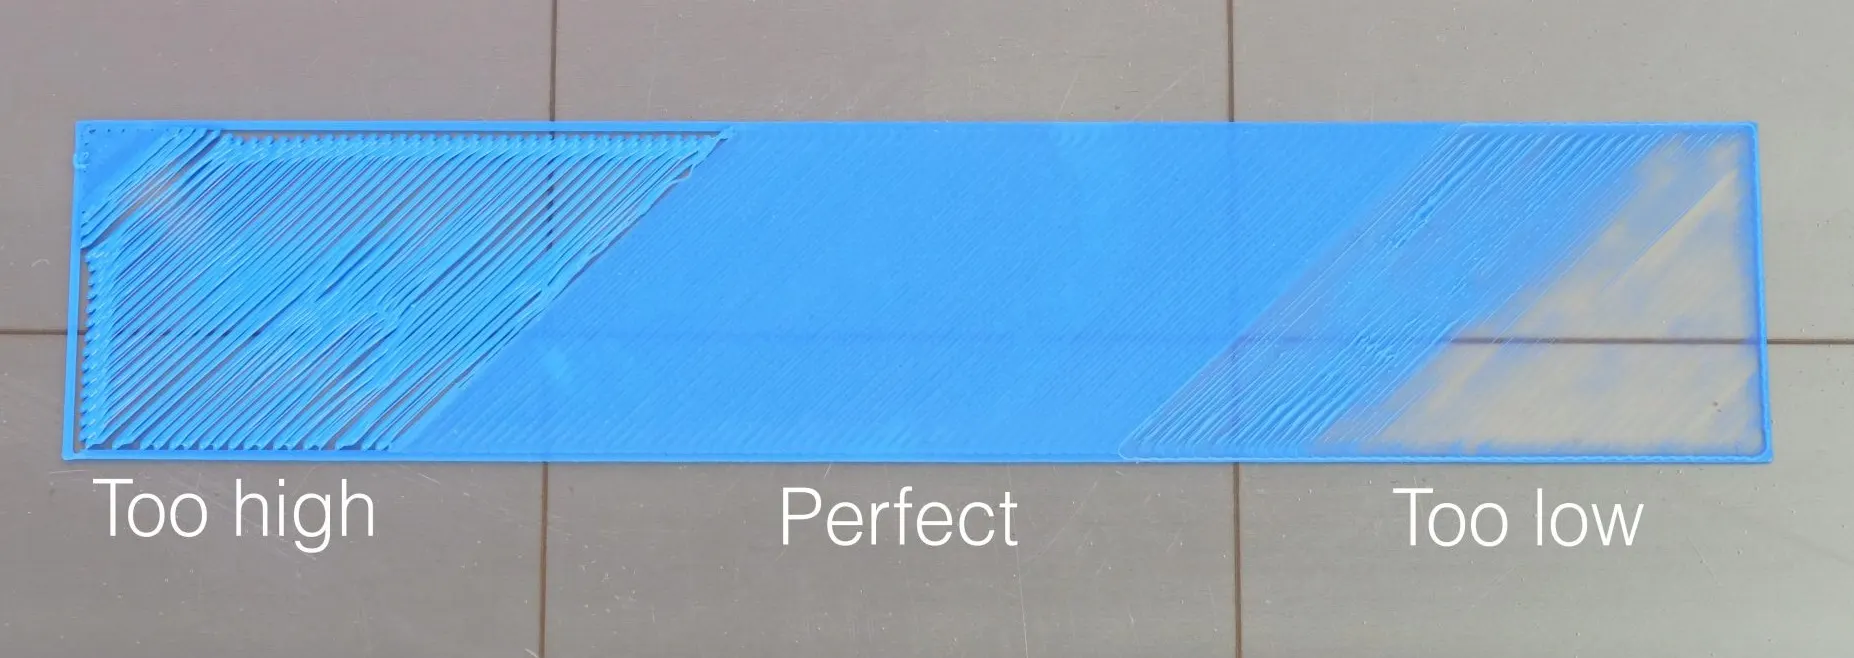
In short, this is just experience of what a good first layer looks like and it’s important to understand the difference as your first layer is literally your foundation of your print.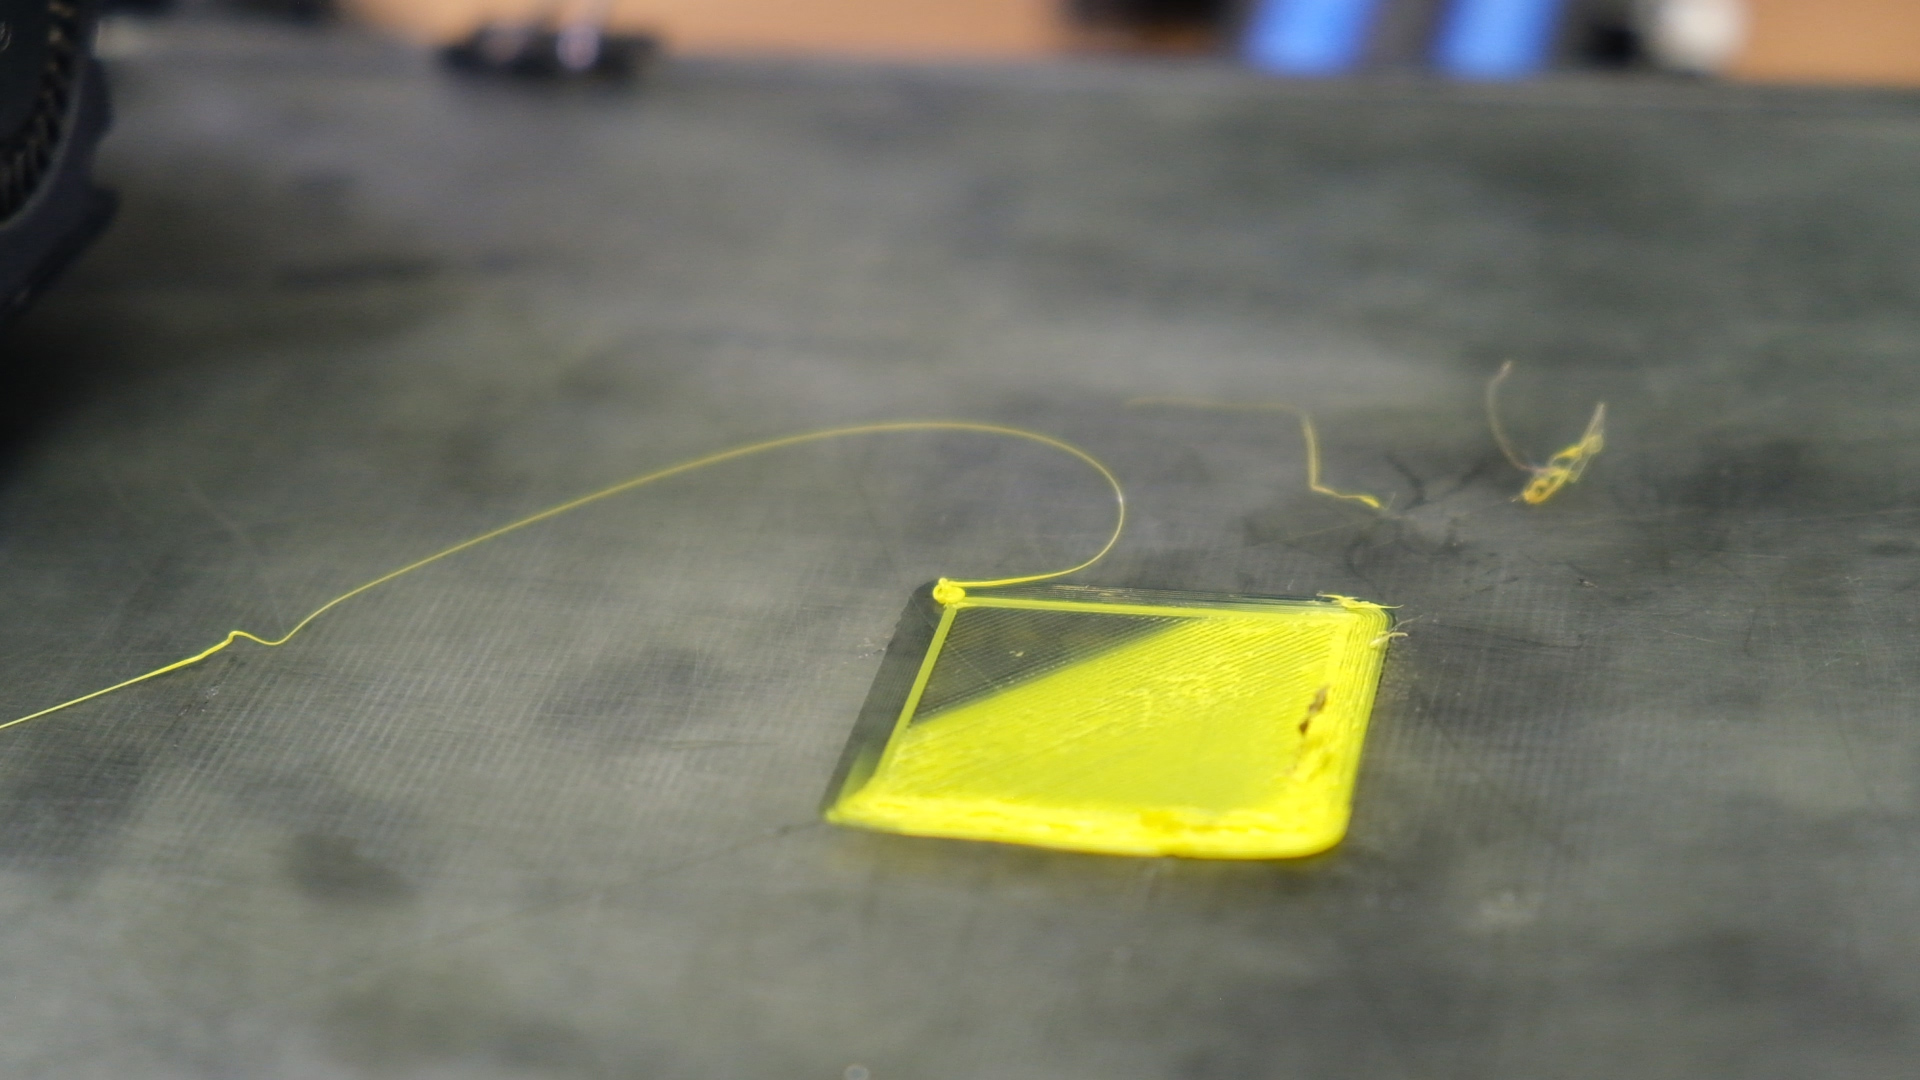
This is what a first layer looks like when its too close. Notice how the Filament is actually turning transparent, this is too close and the filament is actually being squished against the bed.
While this isn’t a MASSIVE problem because the next few layers, the filament will kind of even out but you will have a serious problem trying to get this off the bed if it’s a large print.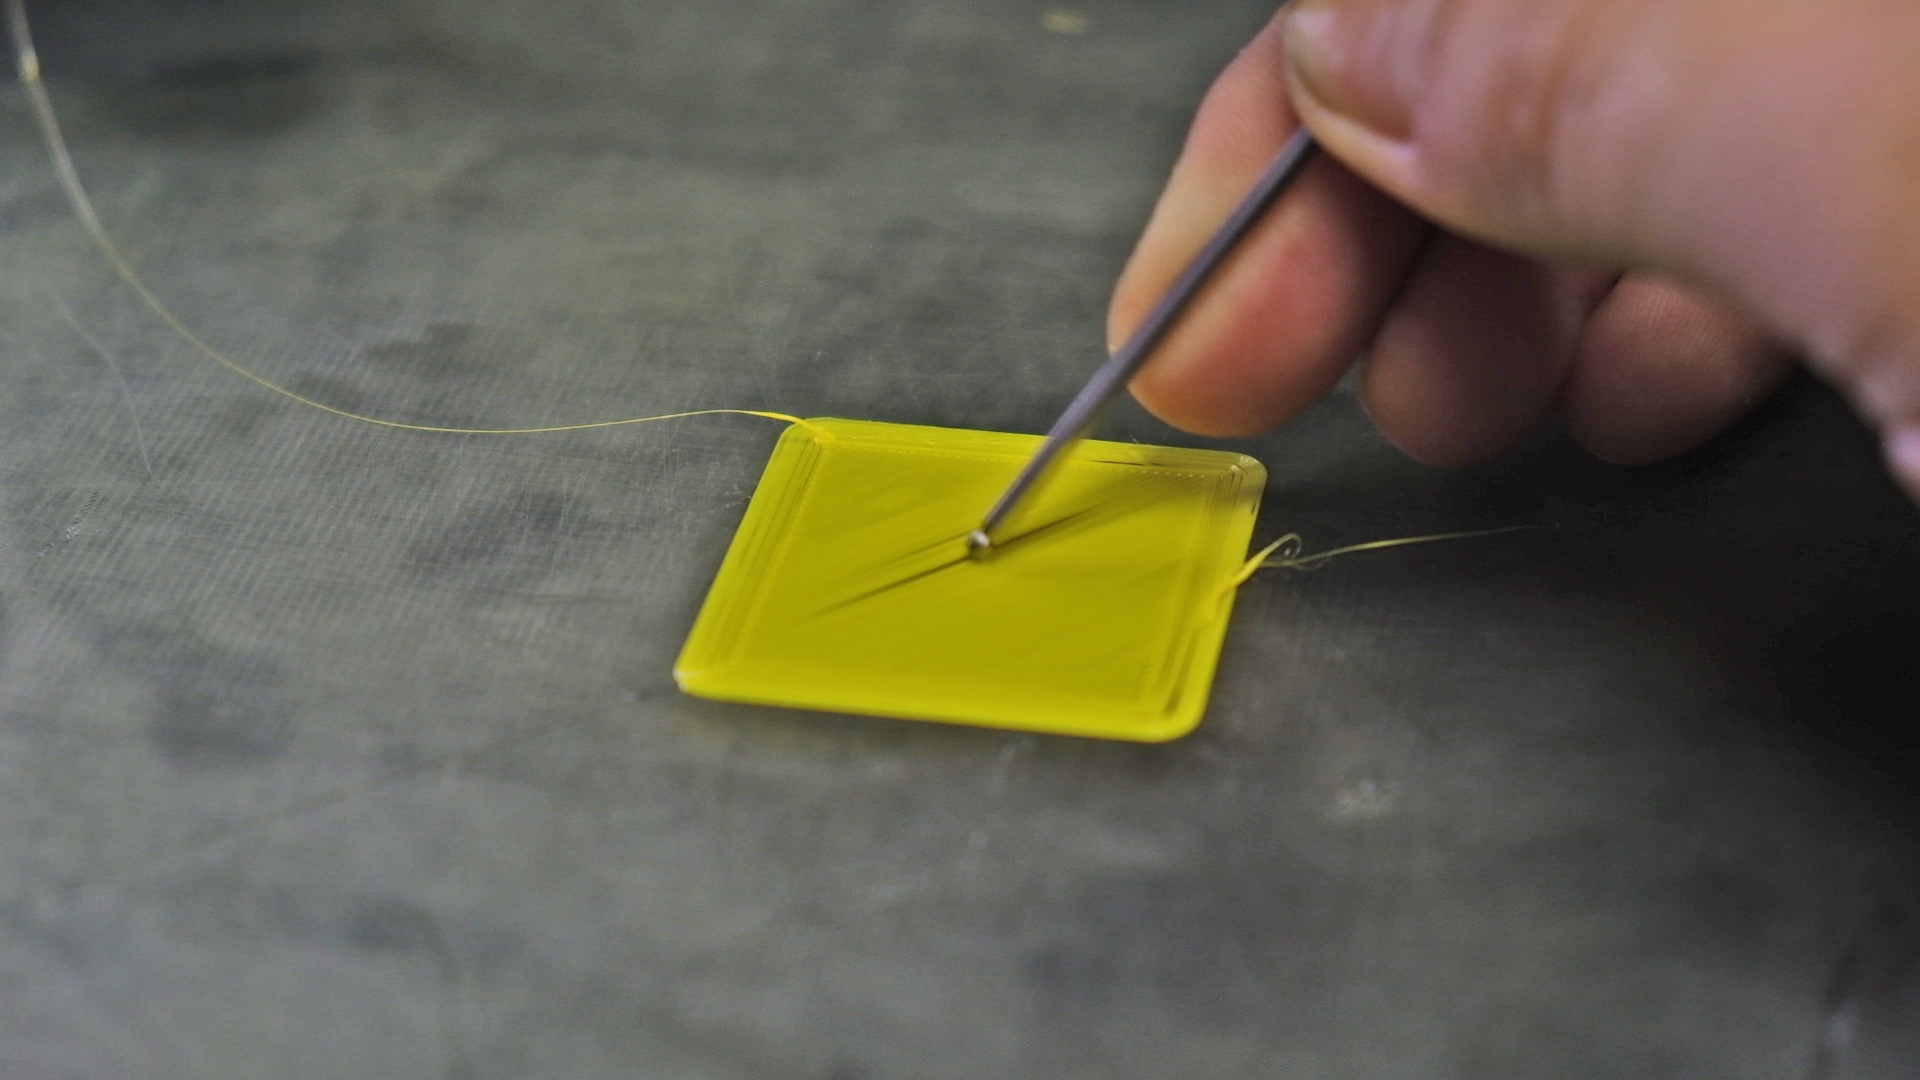
This is what your first layer looks like when its too far away, It’s a solid bead of filament, you will see physical ridges, you might even see gaps between the lines.
Even though the hot molten plastic is sticking to the bed, as the print progresses and the concentration of heat at the nozzle starts shift away from the first few layers, the part will almost always curl or lift or pop off the bed.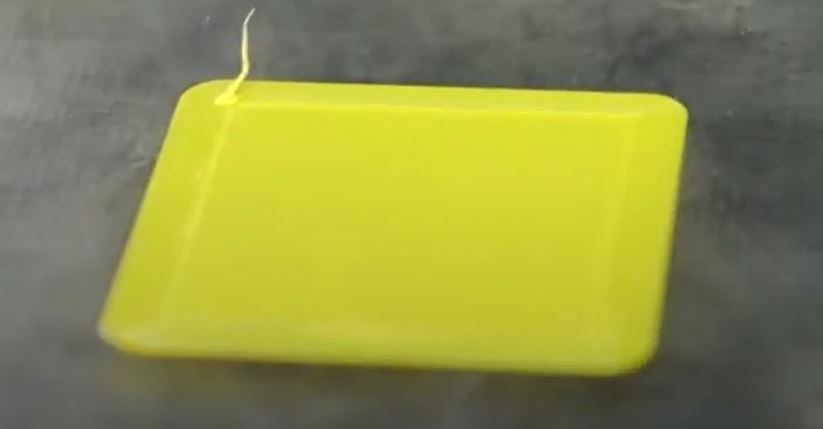
THIS is what we call first layer porn and once you know, you know. - Infact I am pretty sure there is an entire sub-reddit dedicated to this!
It’s a perfectly level piece that is visually even on all sides, you can even use your finger while its printing to determine if the bead of filament is just right, Use your finger tips, if you touch it and the bead comes off the bed, its too far away and we need to move a little closer in that section.
Lastly we need to touch on Print Temperatures.
If your print temp is too low on your bed or head, it will make it a little difficult for the plastic to grab as it cools. Make sure you’re in the correct range for your filament. Personally, I use ZEN Ultra at 220 Degrees on your extruder and 65 on the Bed and I have absolutely no issues.
And that’s all there is. I know this method sounds like you need to be a printer whisperer but it’s the only real way to intuitively know that your printer bed is level. I promise you, once this skill is mastered, you won’t have any issues printing ANY file at all
Check out the full video below from the ZEN Channel for an even better explanation.
Comments (0)
New comment